

Create the campaign
In Lobyco Nexus, you can start a campaign from the campaign list or from Orchestration. Start from the list when each activity reaches customers on its own, such as an offer with its own Segmentation panel. Start from Orchestration when a flow decides who gets what, with a segment, an event or a step like Delay. Both ask for the same fields, and you can switch between a campaign’s List, Calendar and Orchestration views later.- From the list
- From Orchestration
- In the left menu, go to Campaigns → List. Campaigns → Calendar has the same button.
- Select New campaign in the top right.
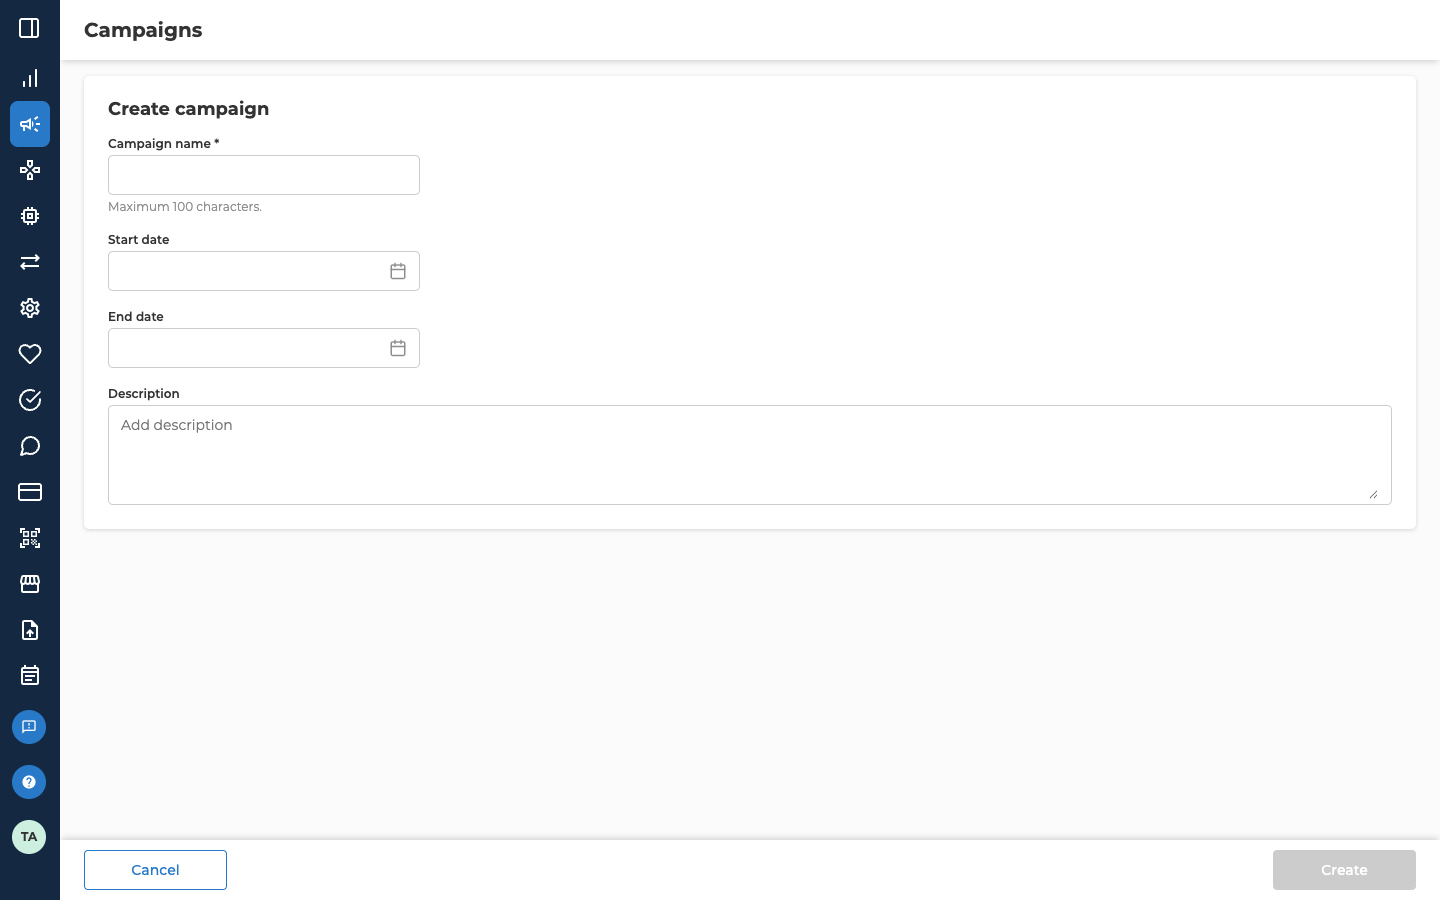
- On Select a campaign type, select From Scratch. The Create campaign panel opens.
- Fill in the fields. See Fill in the campaign.
- Select Create in the bottom right.
Fill in the campaign
Permissions and External reference ID only show when Lobyco has switched them on for your portal. Without Permissions, every campaign is Public.
The dates also set the campaign’s status. Find and manage campaigns explains how.
Add an activity
The campaign itself has no audience. Add an activity in the list when it sets its own audience, like an offer’s Segmentation panel. Add it on the canvas when a flow picks who it reaches. Either way, the activity shows in the list and on the canvas.- In the list
- On the canvas
- Open the campaign and select Add activities. Once the campaign has something in it, select Add activity at the top of its List or Calendar view instead.
- On Select an activity, point at the tile for the type you want. Its buttons only show while your pointer is on it.
- Under Create activity, select From scratch. To start from a saved activity of the same type, select From template. See Reuse with templates.
- Fill in the activity’s form, then save or publish it. For a worked example, see Create an offer.
Troubleshooting
Why is Create greyed out?
Why is Create greyed out?
Create stays greyed out until the campaign has a Campaign name. If the form shows Permissions, pick an access level too.
Why won't the form accept my dates?
Why won't the form accept my dates?
The end date has to be later than the start date. If it isn’t, the field reads Choose a date after …, followed by the start date.Once a campaign has activities, its dates also have to cover theirs. When you edit the campaign, the form shows when the first activity starts and the last one ends. A start date that’s too late reads Choose a date before …. An end date that’s too early reads Choose a date after ….
Why can't I add activities to my campaign?
Why can't I add activities to my campaign?
The campaign’s end date has passed, so the page that lists the activity types reads You can’t edit this campaign. To add more, select Edit on the campaign and move its End date to a date that hasn’t passed yet.
Why can't I pick an activity type?
Why can't I pick an activity type?
A tile that shows nothing when you point at it is listed under These activities are not available. Either that type isn’t switched on for your company’s portal, or your user roles don’t include it. Your Integration Lead can tell you which.Voucher and Bubble are listed there for everyone, because you don’t create them in a campaign. A voucher is an offer with the type Voucher - Standard or Voucher - Triggered, so you create it as an offer. See Offer types. You create a bubble under Toolbox → Bubble, if your user roles include it.
Related
- Orchestration canvas — building the campaign’s flows
- Schedule and run a campaign — scheduling and publishing each flow, and reading its runs
- Find and manage campaigns — finding, editing and deleting a campaign
- Reuse with templates — starting an activity From template
- Segments and Audiences — the rules a segment is built from
- Activities — every activity type and its form